Widget 1
Widget 2

Widget 3
Widget 4
Widget 5
This is my work for the 6th widget.
This was the first step creating the 2-D basis of the whole widget.
The second step was adding dimensions and correcting them, this is also before extrudition
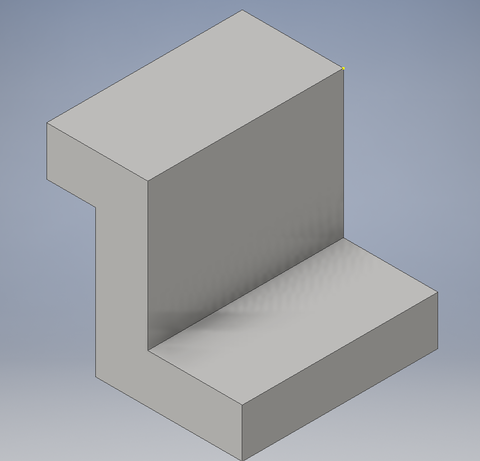
The third step is after I extruded the project and this is now the basis of the project in 3-D
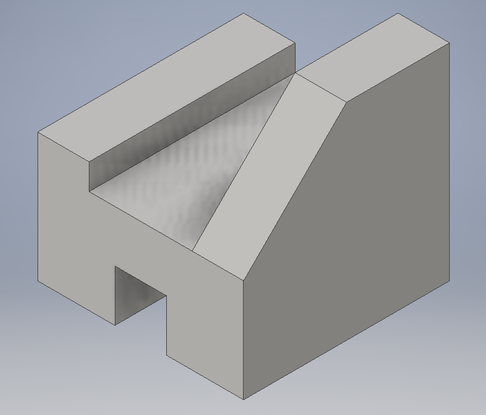
The fourth step is when I added lines and dimensions for the parts I have to cut off
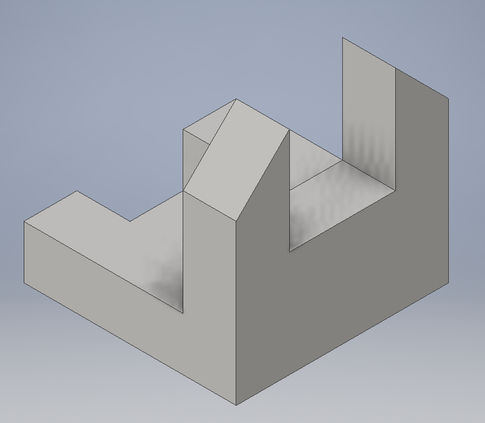
The fifth step and sixth step for this widget was to cut the extra bits off which I do not have picture of, because I think it didn't save, but the sixth step is adding lines and dimensions to the back part to cut off.
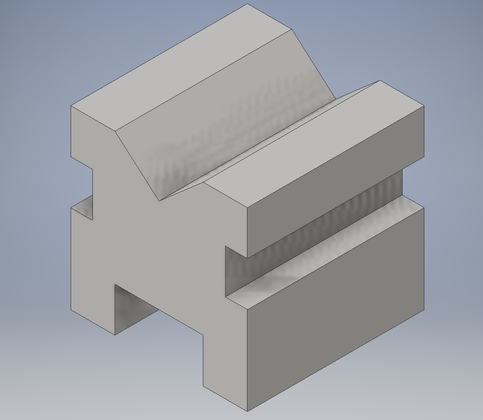
This is the final design of the 6th widget, it turned out pretty well
This is the start of my Makerbot process where the widget is really small and I have to do rotations and dimensions yet. Also I switch to the 4th widget for the printing process, because I thought this one would be easier.
This is after I scaled the dimensions by 1000% and I still have to rotate it to be on the bottom.
I rotated the widget 90 degrees and then pressed the lay flat button. This is the final position it will be in for the process of 3-D printing.

This is my Makerbot preview screen

This is my widget in the beginning stages of the 3-D printing.
This is the finished product, I think it turned out nicely.
Inventor was a challenging thing at first, but then I got the hang of it after the first couple widgets. 3-D printing for me was pretty easy to figure out and the whole experience was very enlightening.
