The very first thing I have to start with this project is to create the bases in Inventor for later use in Fusion 360, because the holes are going to be cut out by the Router.
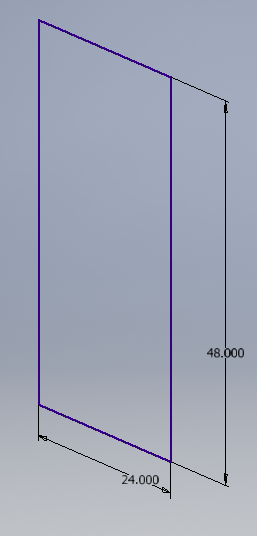
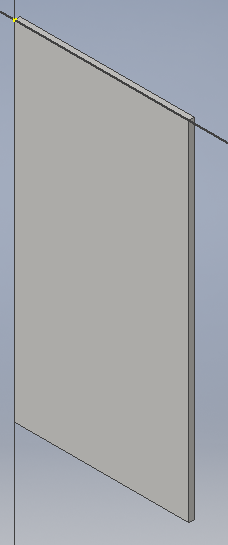
This is base after I extruded it. These are the exact dimensions of the boards I'm using for the bases.
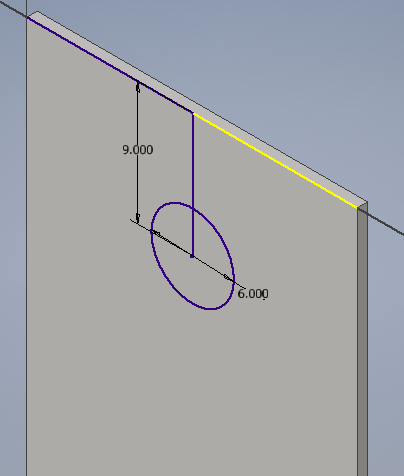
These are the dimensions for the hole in the base.
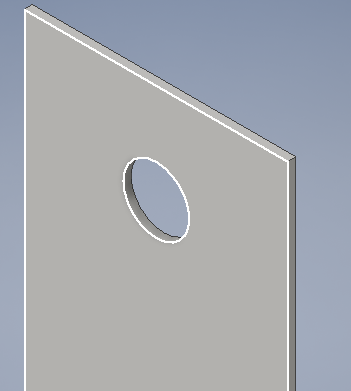
This is that hole cut out of the base.
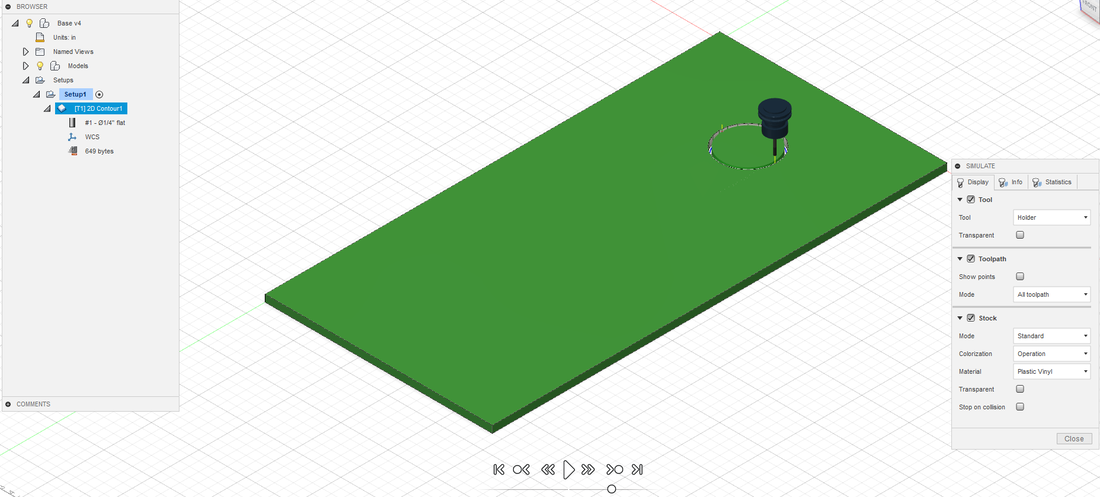
I did all the Fusion 360 stuff, all I needed to do in Fusion was set up the settings for the Router and set up the contours for cutting out the hole.
For my second machine, it will be the Laser. This is the design I will engrave into legs of the boards.

For my third machine I will use the vinyl cutter. This is the design for the top half of the boards.

This is the design for bottom half of the boards.

This is the bottom half design with the colors that will be on the boards.

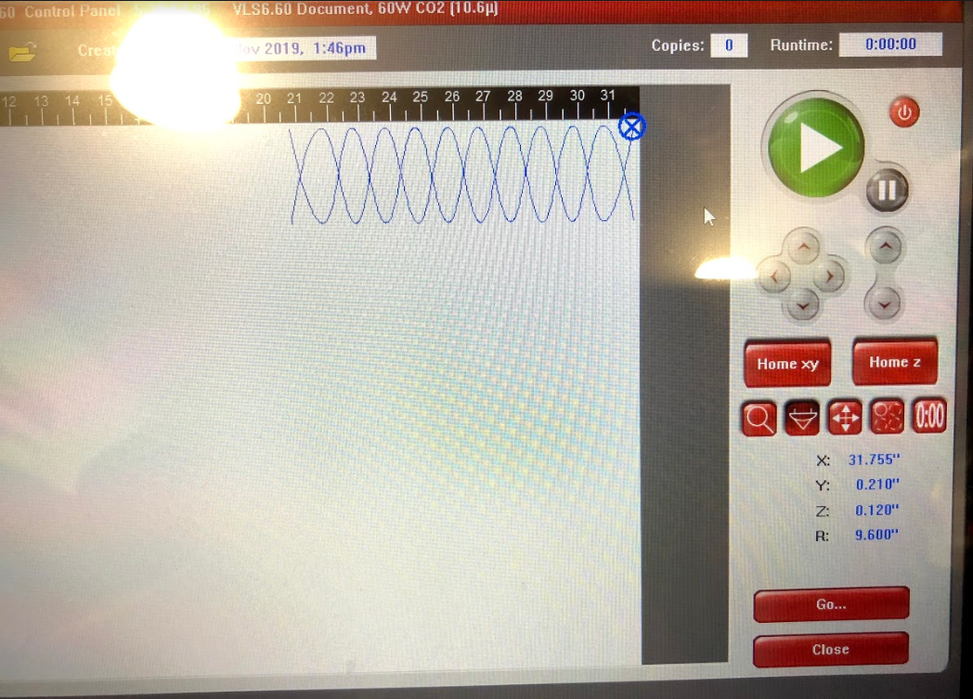
This is the design in the Laser Engraver program
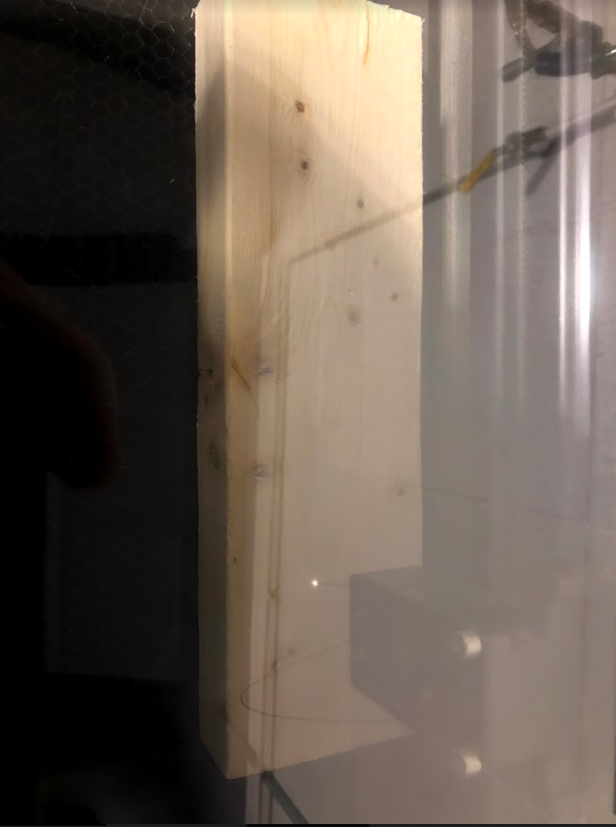
This is the leg getting the design engraved onto it.
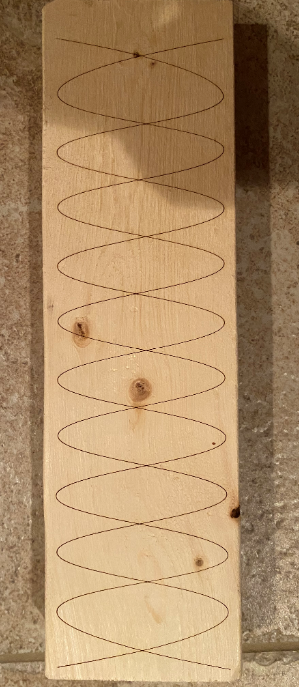
These are what the legs look like after they were engraved. I will be honest they came out pretty underwhelming but I'm still happy with it, because the design took a surprisingly long time to make and I needed a third machine after my first third machine idea wasn't going to work.
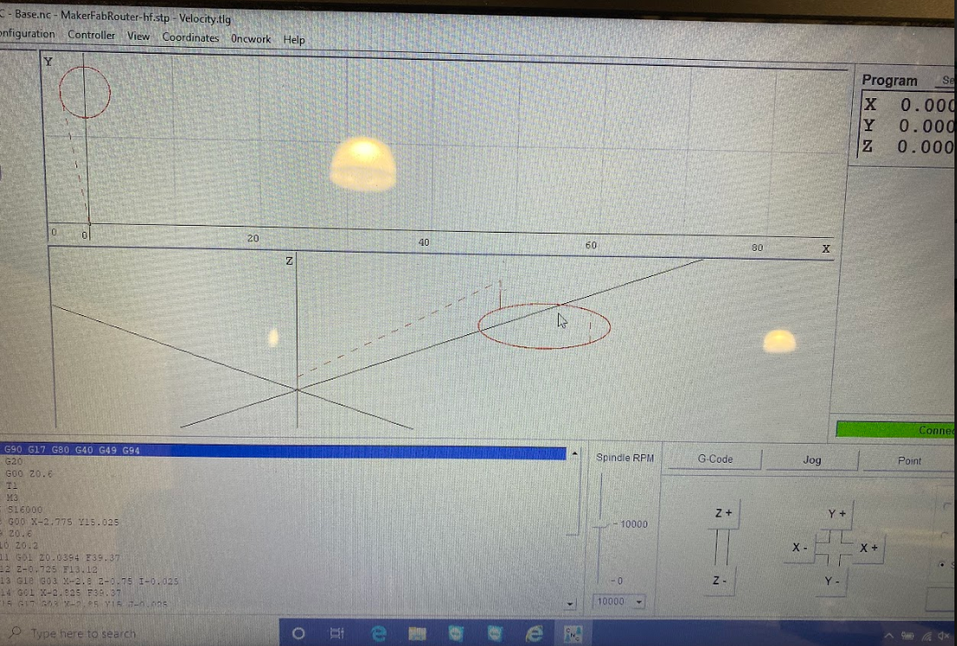
This is the Fusion 360 G-Code in the Router's computer.
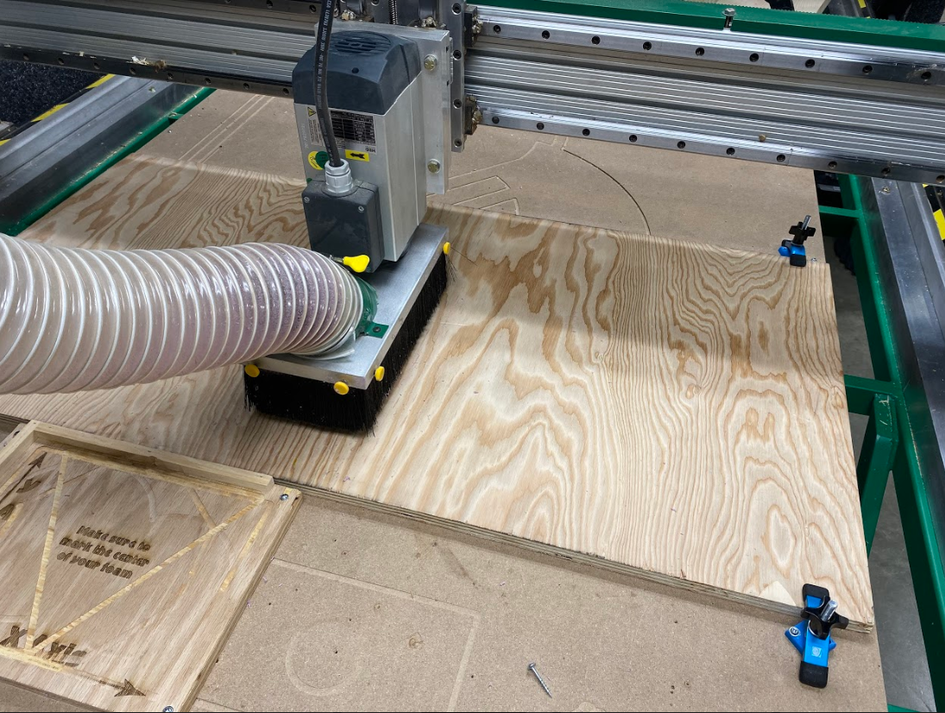
This is the Router cutting out the hole in the board.
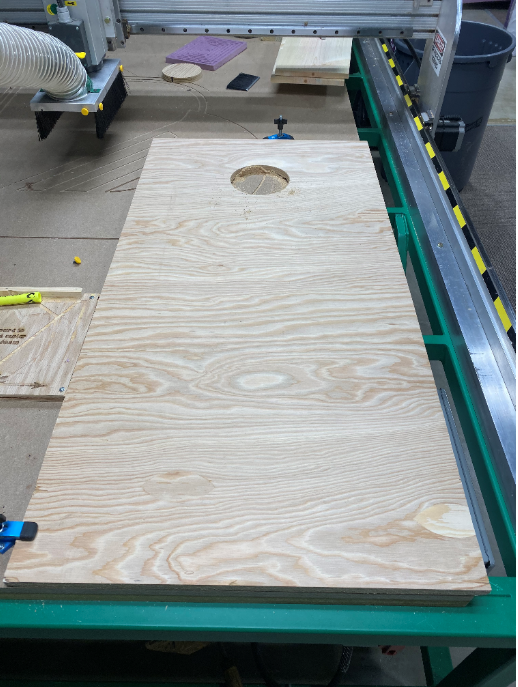
This is the cut out hole for the board. I did the same thing with the other board. The Router was the probably the most important machine I had to use in this project, because it is probably the only way I could accurately cut out the hole in this project.
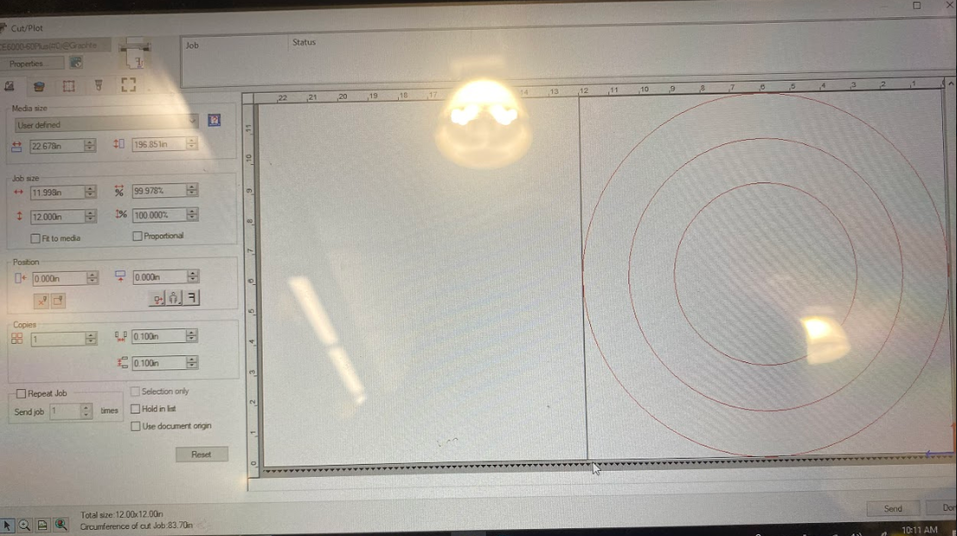
This is that top half design in the Vinyl Cutter program.
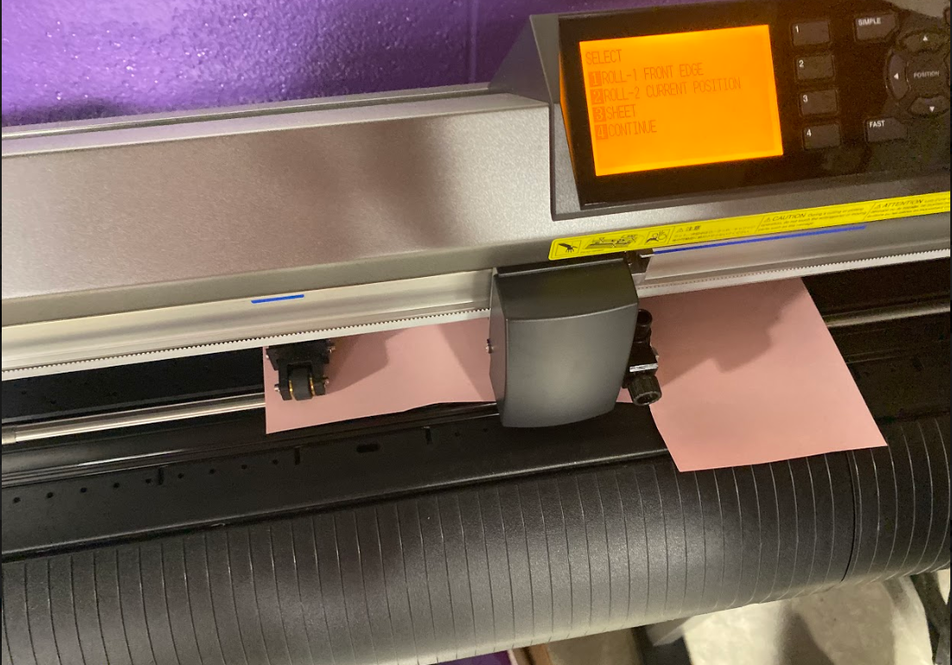
This is that part of design getting cut out on the Vinyl Cutter.
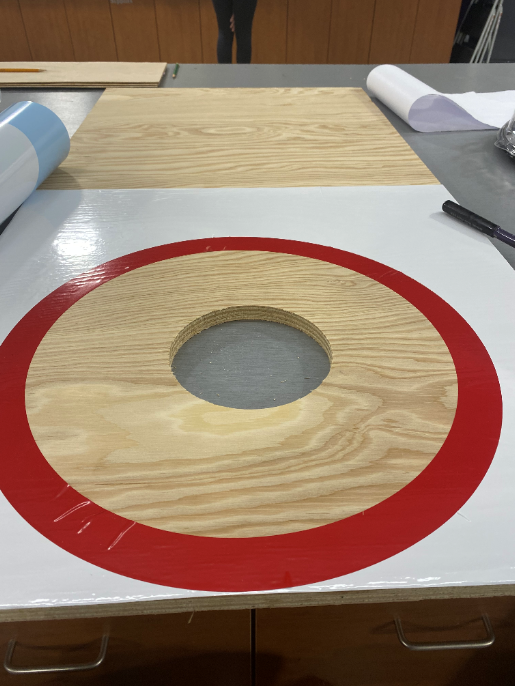
This is when I'm starting to put all the vinyl on my boards.
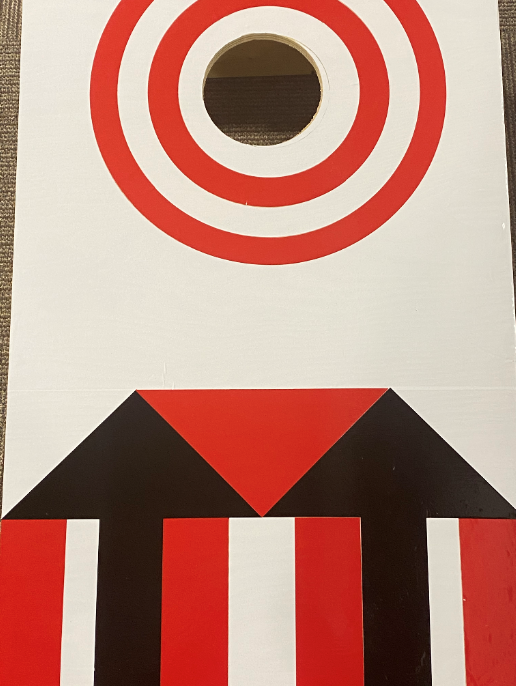
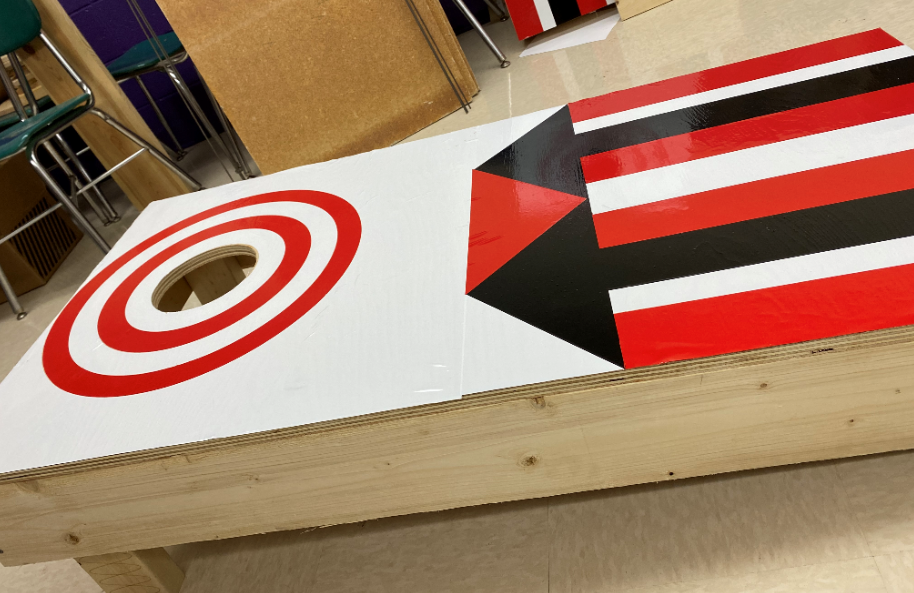
This is the board with all the vinyl on it. The Vinyl Cutter was a fun process, because it made my board look really nice and both designs I put on the board on the boards themselves look really good.
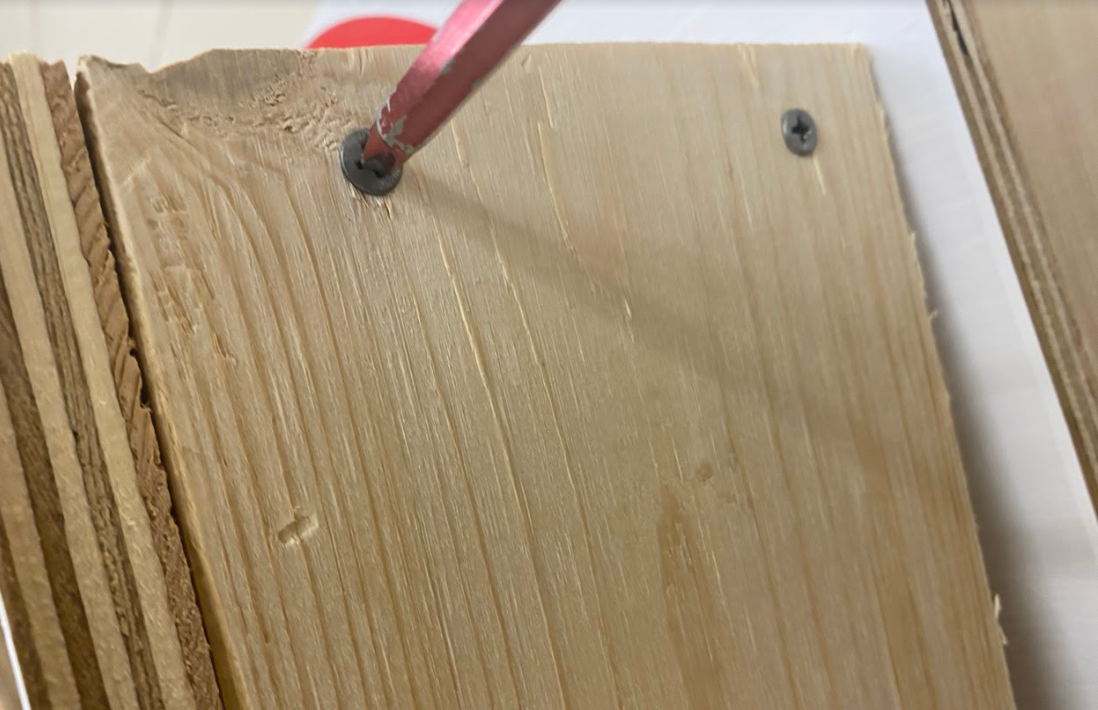
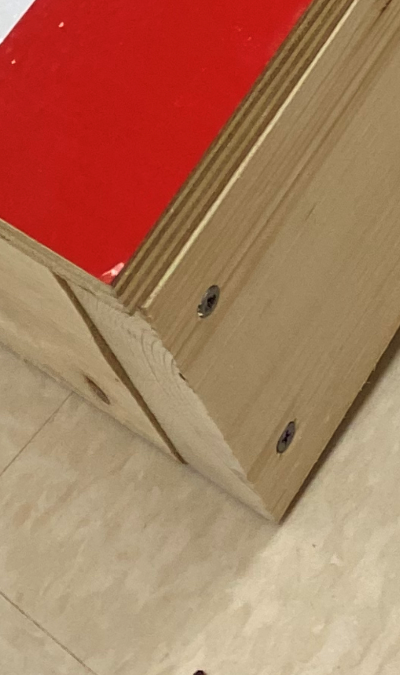
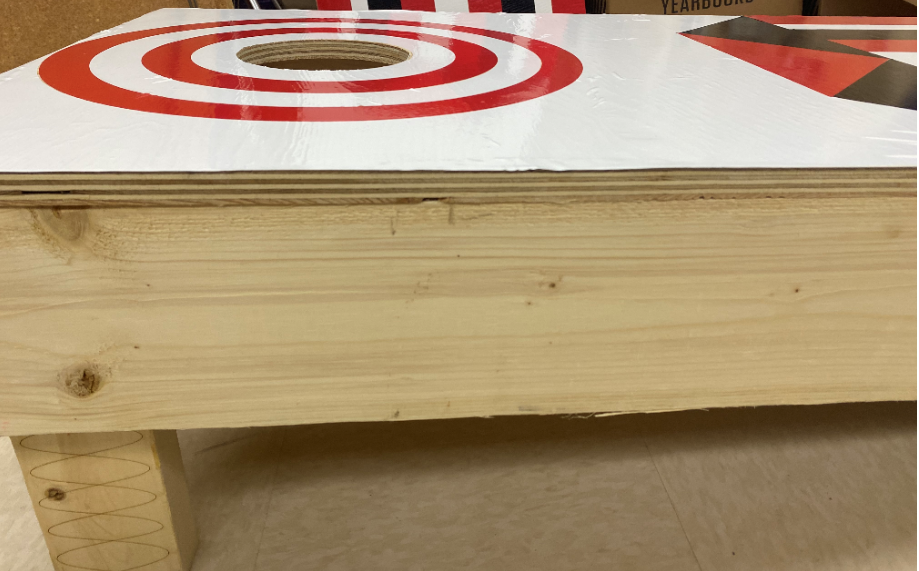
For the next part of this process I had to drill all of the sides and legs to the base so it is elevated off the ground like every other cornhole board.
|
|
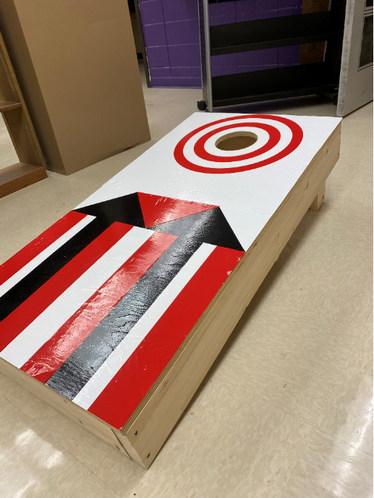
This is the final product I think it turned out better than I thought it would.
|
|
|
