This is my work for my keychain.
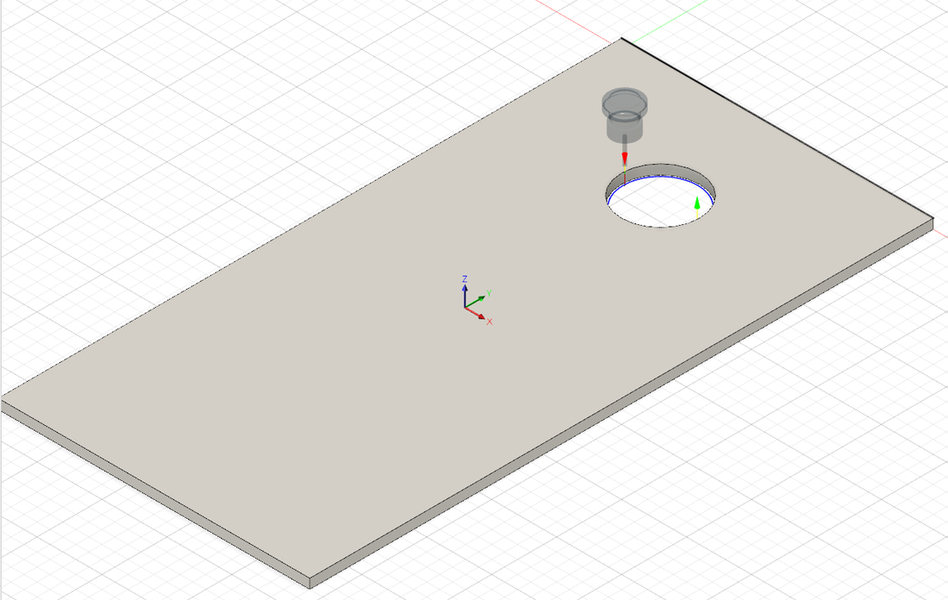
This is step one, this is the rectangle basis for my design and the circle for where I can attach it.
This is step two, I tried to think of something for my image and I thought of a joker card, then I google searched a joker card, then made it black and white.
This is step three, where I put the image onto the shape and made it fit into the shape.
This is step four, this is when I made the thing fully black and white for the engraving process.
This is step five, this is when I put the blue lines for the engraving process.
The red lines is where the thing will be cut out of the acrylic.
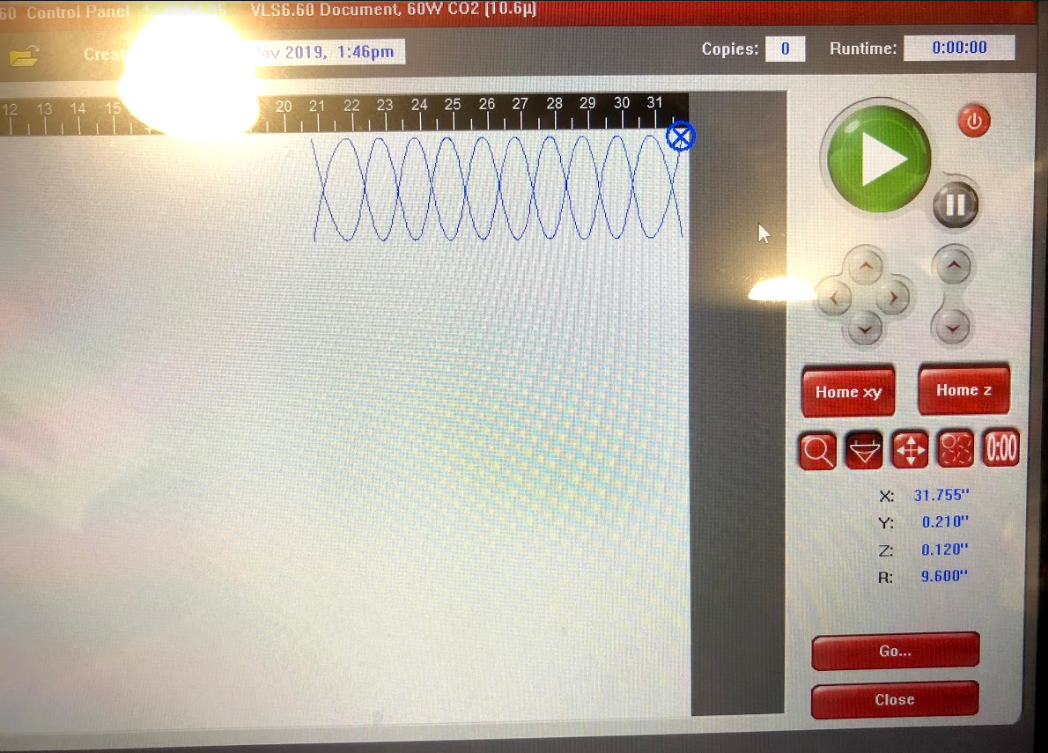
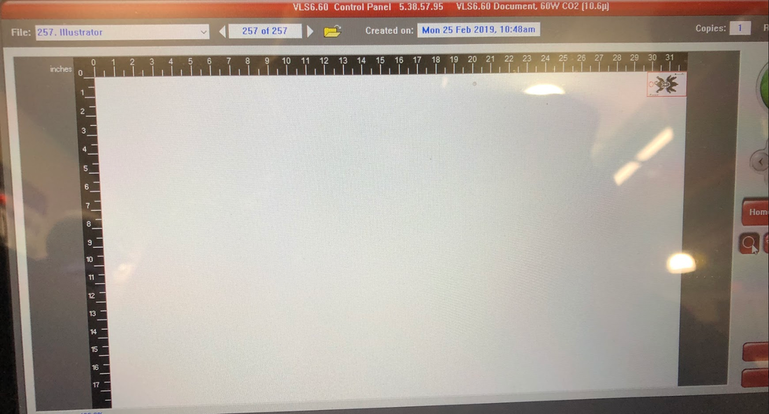
This is when I found the cutting path for the laser.
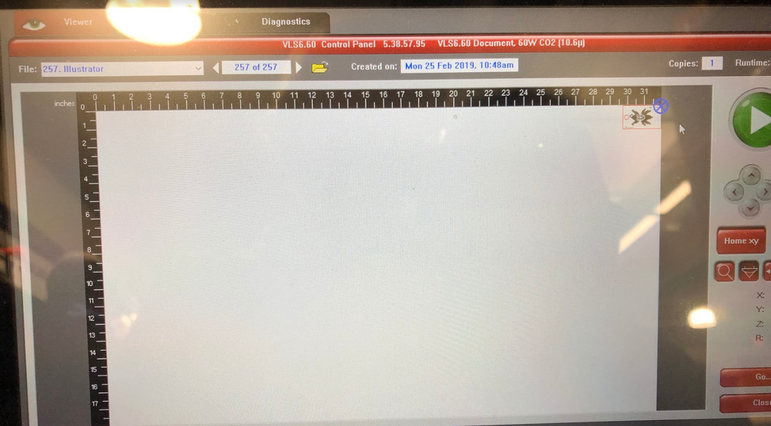
This is just before I press the play button.
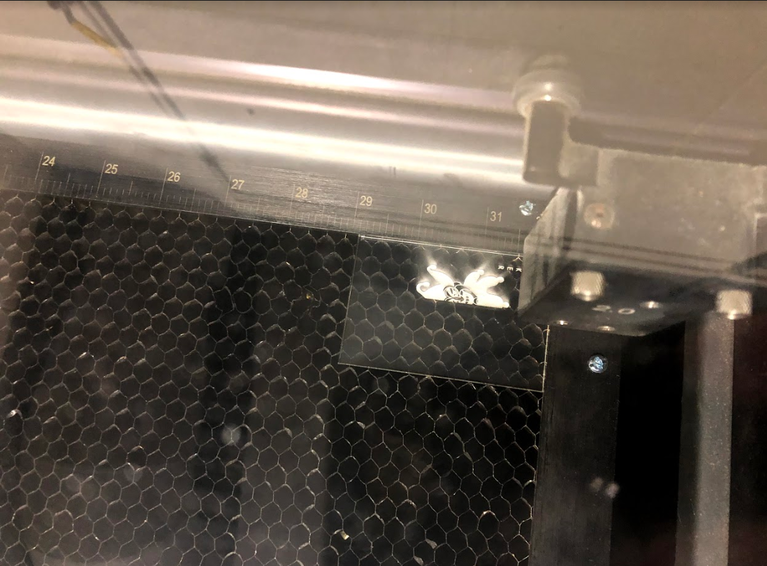
This is when the laser is in the process of engraving into the acrylic.
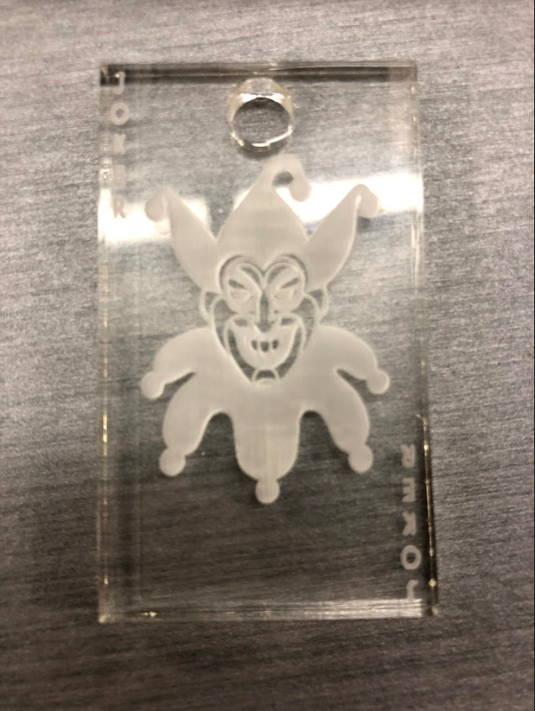
This is the final product. I think it turned out pretty well.
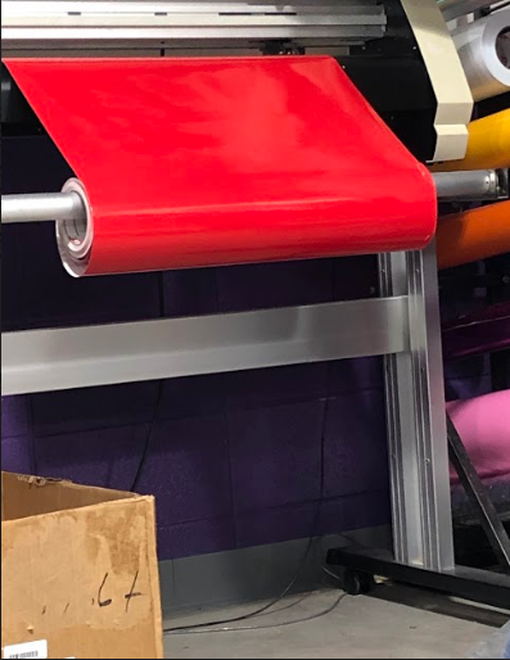
This is the step where I would have to connect the vinyl cutter.
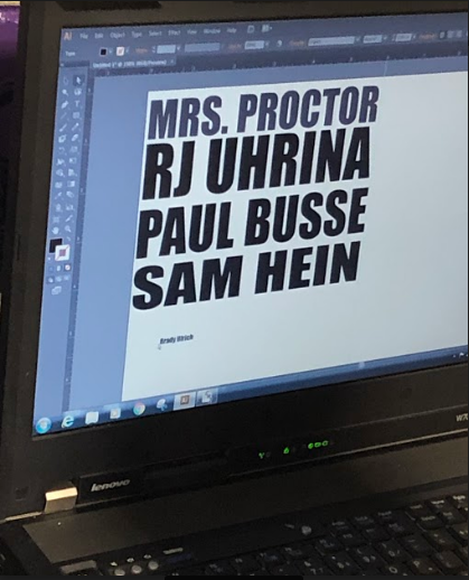
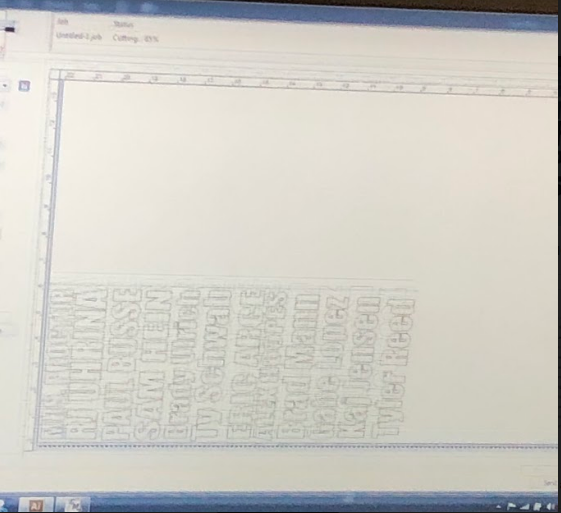
This is the step where we would put our text or whatever into the computer to be cut into the vinyl.
This is the preview screen before vinyl cutting process.
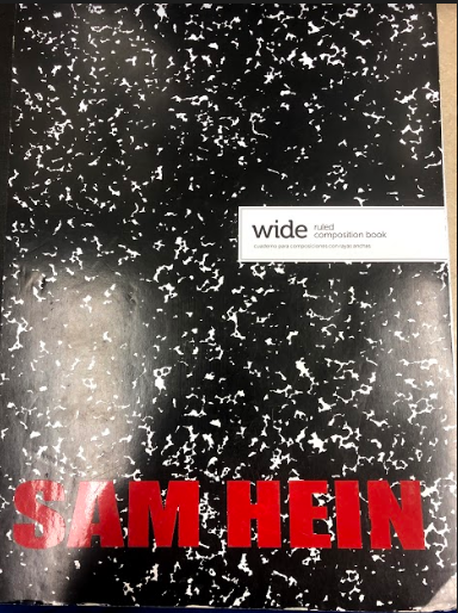
This is the final product and it is pretty cool.
Illustrator actually wasn't too bad, I got all the Illustrator stuff done in one day. I learned Illustrator isn't too bad to use. Then the laser was a struggle, it took me 2 attempts to get it but I got it. I learned the laser takes some practice to get the hang of it. Then vinyl seemed ok to do, but I haven't personally done anything with it yet.
